Andy Norrie
The CXL market is poised to grow massively over the next few years and may be one of the largest changes in the industry since the introduction of NVMe® SSDs. But what do you need to test CXL?
 CXL™ is electrically compatible with PCIe®, but unlike NVMe®, it does not run on top of the existing PCIe protocol; it replaces it. This new design allows for lower-latency communication and also adds major new features around the sharing of cache and other memory resources.
What do you need to test CXL?
When NVMe SSDs were first introduced, a huge amount of testing was required. Hot-swap in particular was a major problem, and minor errors in implementation would often lead to server crashes and data loss.
As an entirely new communications mechanism, CXL will have to be proven reliable, especially when it comes to enterprise devices and handling mission-critical systems and data.
In addition to hot-swap, customers will have to handle lane width configuration, device reset, and all the potential fault scenarios that will occur over the lifetime of a product.
Hot-plug & Fault Injection
First, you need to automate as much of the testing as possible; this will allow engineering time to go into finding solutions rather than performing manual tests.

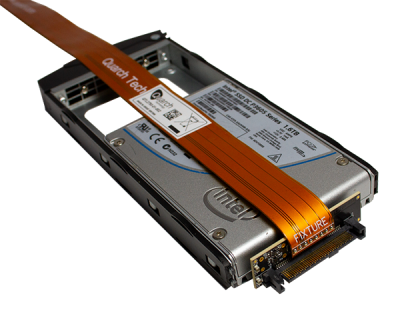
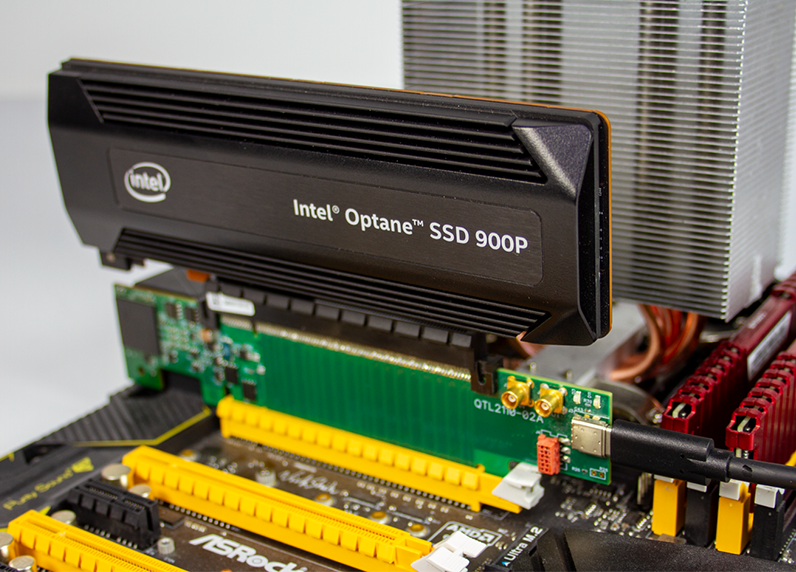
The PCIe ‘Breaker’ range from Quarch is fully CXL compatible and ready to use today. If your company makes PCIe devices, you may already have test suites written that can be easily ported over to CXL.
5 common tests that fail on PCIe and are likely to be an issue on CXL:
- Repeated hot-plug: Set the connection sequencing on long and short pins to change the speed of the plug cycle. This can highlight many potential issues with device detection and general reliability.
- REFCLK isolation: REFCLK valid timing relative to the PERSTn signal causes a lot of compatibility issues; isolating REFCLK ensures components support SRIS and SRNS correctly.
- Lane width reduction: reduce the lane width to the device (or fail one part of a lane) and verify the system negotiates down correctly.
- Fault detection: Cut individual sidebands, data, or power pins during operation and ensure the system detects the error and handles it correctly (avoiding system crashes or data loss).
- Error injection: Inject sporadic data errors at the physical layer. Verify PHY counters track the errors correctly. Increase the length and frequency of the glitch sequence until the link goes down. This should happen without a system crash or data loss, and any dual-redundant mechanisms should switch on at the appropriate time.
Power Analysis
Having a robust and well-tested system is critical, but power efficiency is also of high importance for modern systems. A more efficient device will not only save on energy; it will also require less cooling, resulting in a double saving.

Again, the Quarch Power Analysis Modules (PAM) range for PCIe is fully CXL-compatible. With both manual and fully automated capture, you can gain an in-depth understanding of the efficiency of different workloads.
The PAM range does more than just capture power. Our digital capture of sideband signals allows you to view PERST timings and similar, which can be a big benefit when it comes to debugging enumeration and power-saving states.
4 power tests you should be running:
- Idle/sleep state power: Does the device go to its lowest expected low-power state? How much power does it use?
- Inrush current: What is peak inrush current on power-up/hot-plug. Is the host supply rail stable during the inrush period.
- Power vs. Performance: Run multiple common workloads on the device and measure the peak and mean power consumption. Capture the IO at the same time to compare megabytes per second-per-watt as an efficiency metric.
- System power: Use an AC PAM from Quarch to also capture the full system power at the wall. Again, you should be looking at idle, load, inrush, and efficiency results, as well as AC-specific metrics such as THD (Total Harmonic Distortion).

